SupportKnowledge BaseZapier: Step by Step guide to create KashFlow invoices for new WooCommerce orders
Zapier: Step by Step guide to create KashFlow invoices for new WooCommerce orders
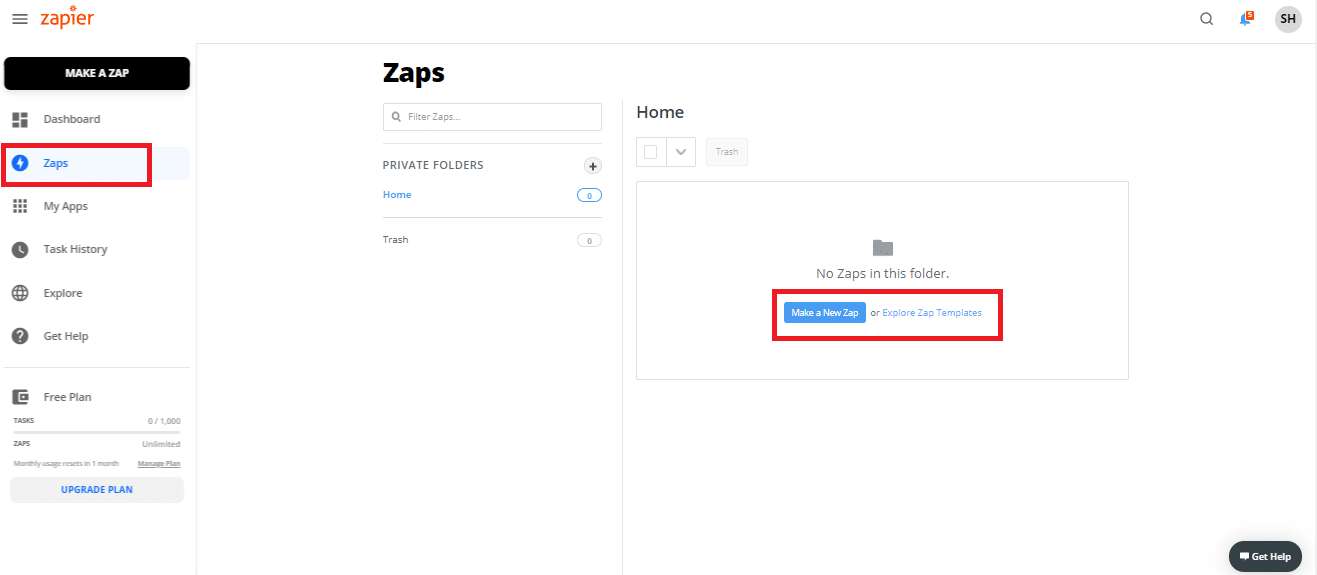
Once you login to your Zapier Account, go to Zaps menu
If you have created a new Zapier account, and if this is your first Zap, you will see ‘Make a new Zap’. Click that.
If you already have Zapier account, click on ,‘Make a Zap’ or ‘Create Zap’.
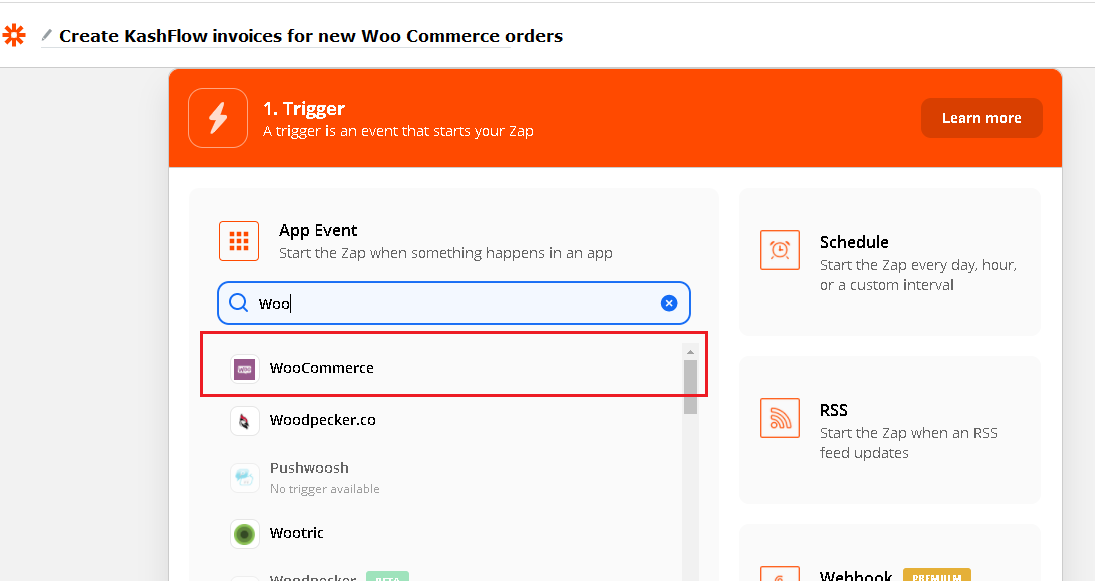
As a first step, you need to setup Trigger.
Here you need to select source application and event.
If you want you may give a name to your Zap at this stage or you can give later e.g. ‘Create KashFlow invoices for new WooCommerce orders’
Select ‘WooCommerce’ as an application for Trigger.
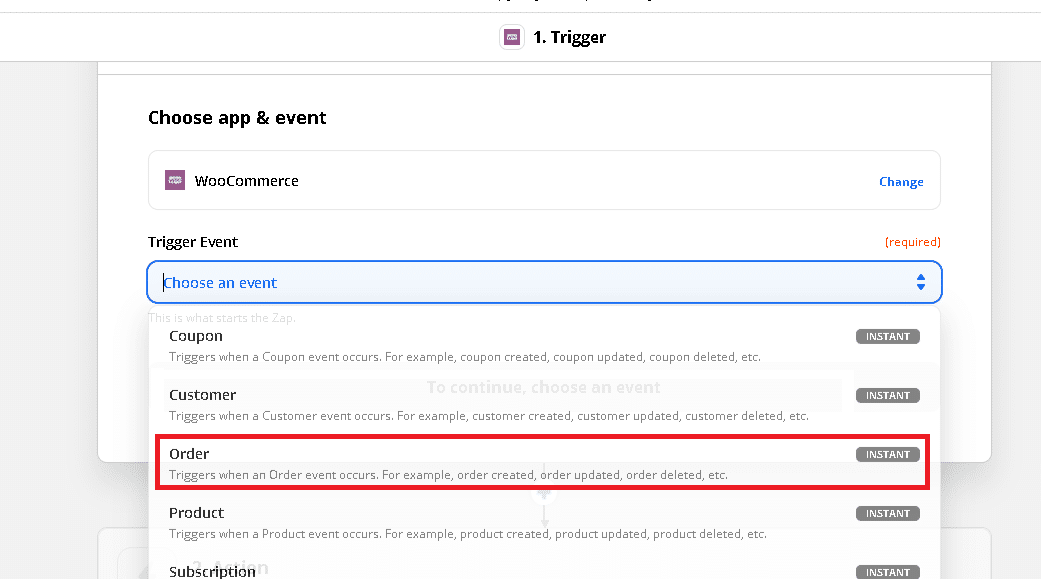
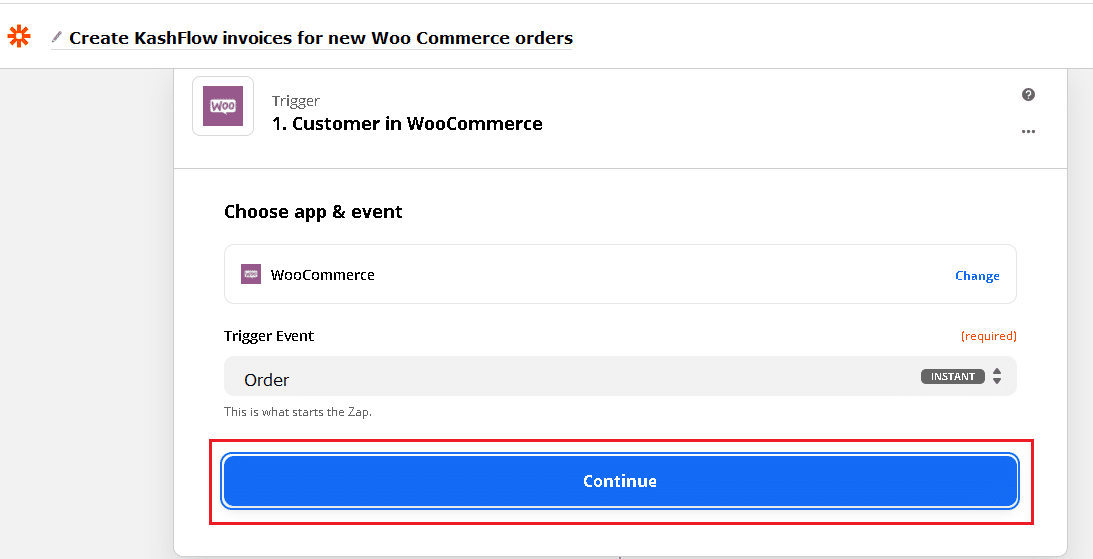
You may select any event, which is exposed by the Woo Commerce. Since we want to create a Invoice in KashFlow, when a new order is created in WooCommerce, let’s select ‘Order ’ event.
Click ‘Continue‘
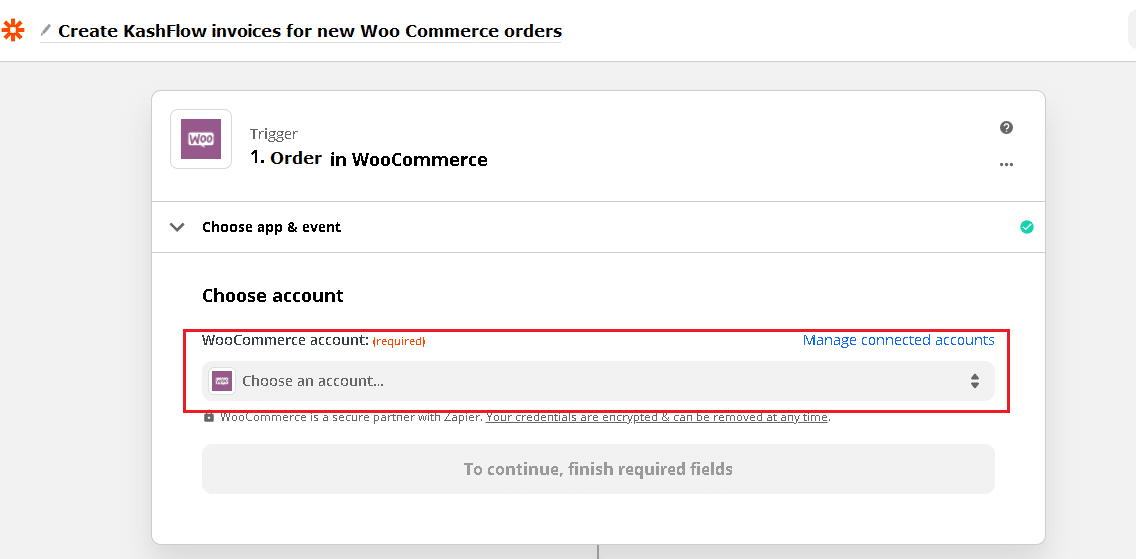
Now select Account for Trigger
If this is your first Zap for WooCommerce, click on ‘Sign in to WooCommerce’. Otherwise you can select Account from dropdown
Provide your WooCommerce credentials like home page URL, Username and password if you are connecting to WooCommerce for first time or want to change your store.
Click Continue once you link your WooCommerce account.
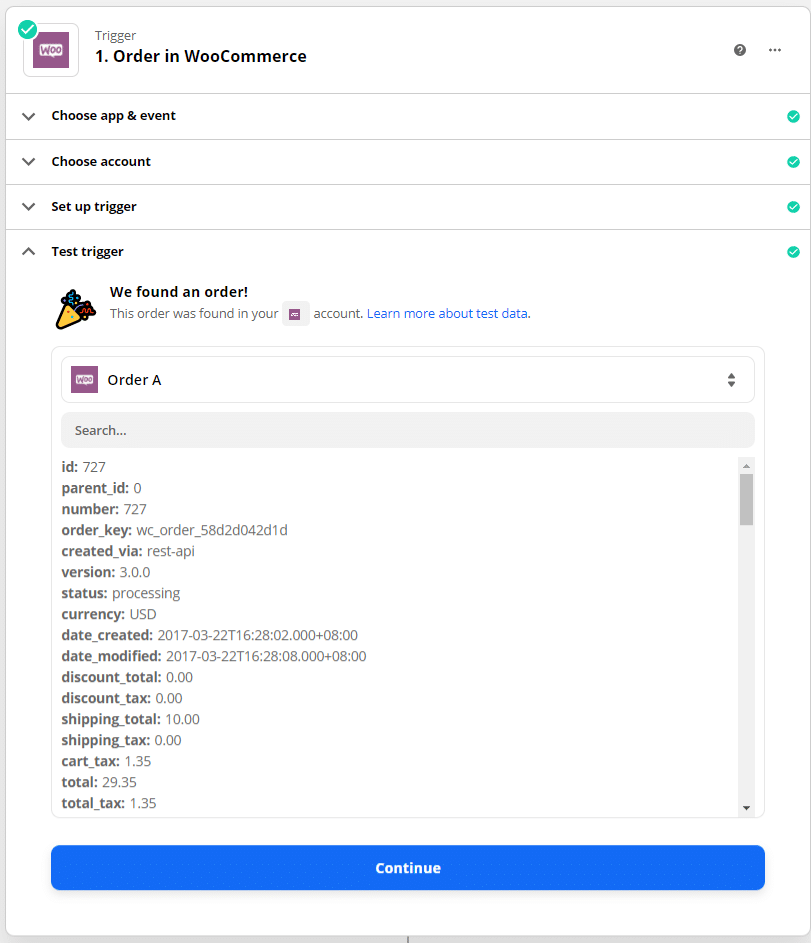
You may wish to test the trigger and confirm if you are getting the latest order data.
If you are getting real/latest order’s data from your WooCommerce account, you are good to proceed.
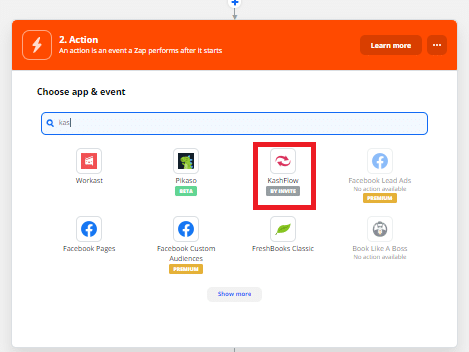
As a second step, you need to setup Action.
Here you need to select Target application and event. and then map the fields from source and target application.
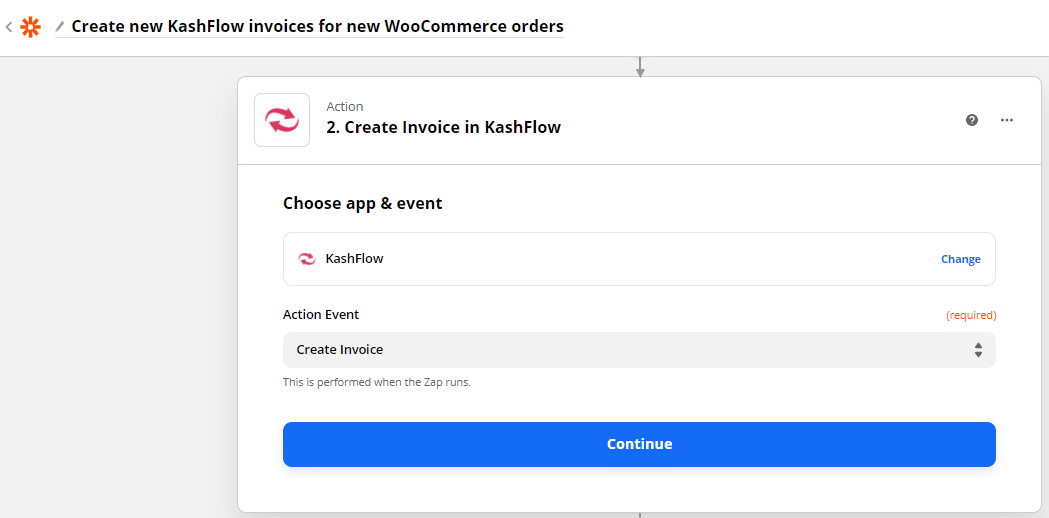
Select ‘KashFlow’ as an application for Action.
In case, if you would like to test integration on UAT first and then move to Production/Live, Select KashFlow(x.x.x). Note that for this, you will need to have UAT Account and also have access to KashFlow(x.x.x).
In case, if you would like to test with your live KashFlow, select KashFlow
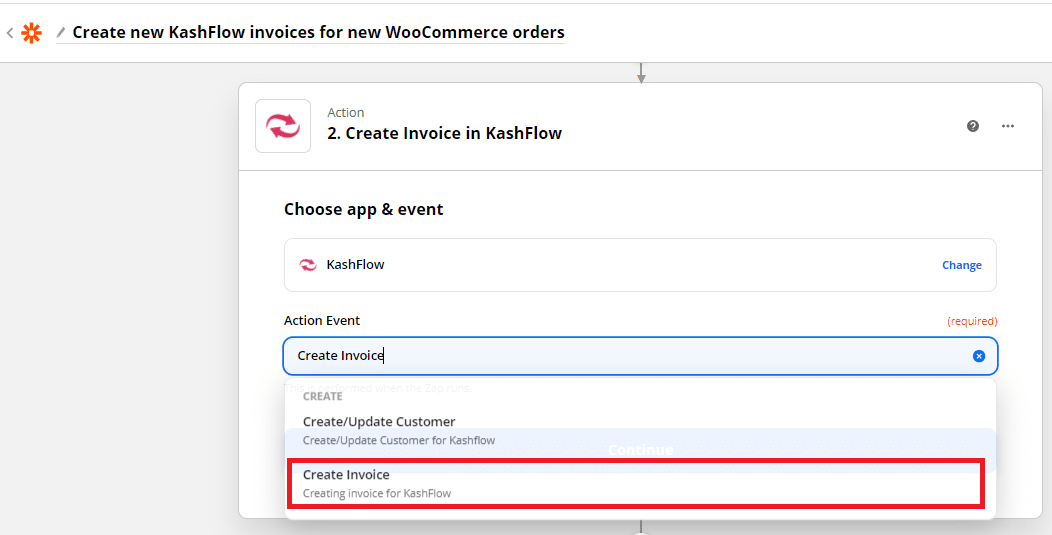
You may select any event which is exposed by KashFlow. Since we want to create a invoice in KashFlow, when a new order is created in WooCommerce, let us select ‘Create Invoice’ event.
Click ‘Continue‘
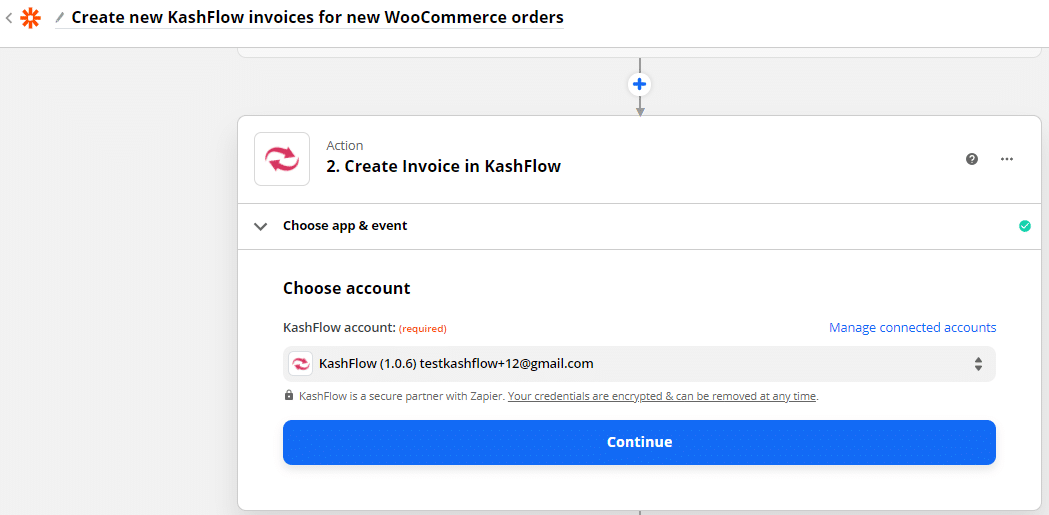
Click on ‘Sign in to KashFlow‘ if this is your first integration , otherwise you can choose existing account from the dropdown.
Provide your KashFlow credentials like username, password and memorable word and click on ‘Yes, Continue’. Its safe to provide these details at Zapier as KashFlow is a secure partner with Zapier. Your credentials are encrypted.
Caution: Whenever you change your KashFlow credentials, you will need to change it Zapier too. Otherwise Zap will stop working.
If your credentials are correct, it will ask to redirect to the Zapier Page again. Click ‘Continue‘ to proceed to setup the action.
Here you will need to answer few questions and map WooCommerce fields with KashFlow fields.
Customer Details
How Should Existing Customer In KashFlow Be Matched ?
You can select Email or Name or Code
This helps system to create new customer when not found. And also give opportunity to update customer when found.
In WooCommerce , the customer is uniquely identified using email and so most users set Email over here.
If you have more than one customer with same Email ID in your KashFlow Account, system will not be able to decide which customer to assign for this invoice and invoice creation will fail.
You may choose name if Customer Name is unique in your case rather than email ID.
Customer Name
This is Name of the Customer /Company.
Most users map it with WooCommerce’s Billing First Name Billing Last Name
Customer Code
An alphanumeric unique ID using which you would like to identify customer in KashFlow.
Most users, leave it blank and system generates it.
Customer Email
Primary Contact’s Email Address
Most users map it with WooCommerce’s Billing Email
First Name
Primary Contact’s first name. Maximum 100 characters.
Most users map it with WooCommerce’s Billing First Name
Last Name
Primary Contact’s last name. Maximum 100 characters.
Most users map it with WooCommerce’s Billing Last Name
Full Name
Primary Contact’s full name. Maximum 100 characters.
Most users map it with WooCommerce’s Billing First Name Billing Last Name
Telephone
Primary Contact’s Telephone number. Maximum 75 characters.
Most users map it with WooCommerce’s Billing Phone
Mobile
Primary Contact’s Cell Number. Maximum 75 characters.
Most users, leave it blank.
Would You Like To Create A Customer When Not Found
System will check if customer exists in KashFlow based on your matching criteria i.e. whatever you set in ‘How Should Existing Customer In KashFlow Be Matched ?’
System will generate new customer and associate invoice to newly created customer when value for this field is set to ‘True’ otherwise invoice creation will fail when customer is not found.
Customer details mapped above like Name, Telephone etc. will be used for creating new customer
Most users, set it True.
Would You Like To Update A Customer When Found
In case, if you would like to override existing customer’s information with customer’s information in ‘WooCommerce’, select ‘True” otherwise false
Most users, set it True.
Invoice Details
Invoice Number
Unique Invoice Number. System will generate when not provided.
Most users, leave it blank and system generates it.
Invoice Issue Date
The date on which this Invoice was generated.
Most users map it with WooCommerce’s Date Created.
Some users map it with WooCommerce’s Date Modified or Date Paid
Invoice Due Date
The date on which this Invoice is due
Most users map it with WooCommerce’s Date Created as they are paid when order is confirmed.
Some users map it with WooCommerce’s Date Modified or Date Paid
Currency
The name or code of currency in which this invoice has to be created
Since WooCommerce does not give currency information, users select some currency from dropdown or leave it blank. When blank invoice gets created in default currency of your KashFlow Account.
Customer Reference/Purchase Order
If you want to record invoice number from WooCommerce, you can record it here.
This can help you track/find invoice quicker when customer queries using WooCommerce order
Most users, append WooCommerce# or WooCommerce Order # withWooCommerce’s Number so that they will know that this invoice is imported from WooCommerce.
Customer Billing Address
Address Line 1
Most users map it with WooCommerce’s Billing Address1
Address Line 2
Most users map it with WooCommerce’s Billing Address2
Address Line 3
Most users map it with WooCommerce’s Billing City
Address Line 4
Most users map it with WooCommerce’s Billing State
Post Code
Most users map it with WooCommerce’s Billing PostCode
Country
Name or code of country
Most users go to custom and map with WooCommerce’s Billing Country
Update Customer Address
Set this to ‘True’ if you want to update customer’s address with billing address from this invoice else ‘False’
Most users set it to ‘True’
Delivery Address
Users map this when billing and delivery address are different or they are interested in Packing slip
Use Different Delivery Address
Most users set it to ‘True’
Address Name
Most user’s map it with WooCommerce’s Shipping First Name Shipping Last Name
Address Line 1
Most users map it with WooCommerce’s Shipping Address 1.
Address Line 2
Most users map it withWooCommerce’s Shipping Address 2
Address Line 3
Most users map it with WooCommerce’s Shipping City
Address Line 4
Most users map it with WooCommerce’s Shipping State
Post Code
Most users map it with WooCommerce’s Shipping PostCode
Country
Name or code of the country.
Most users go to custom and map withWooCommerce’s Shipping Country
Update Customer’s Delivery Address
Set this to ‘True’ if you want to update customer’s delivery address with delivery address from this invoice else ‘False’
Most users set it to ‘True’
Project
If you have invoice level projects in your KashFlow Account and if you want some default project to be assigned for your invoice, you can set it here.
Most users leave it blank.
Line Items
Project
The name of project that you want to assign to current line item.
If your Project Settings are configured to allow assigning projects to line Items and if you want some default project, you can set it here.
Most users leave it blank.
Sales Code
The name of the Sales Code that you would like to assign to current line item.
Users for whom all/most of lines items from all WooCommerce invoices belong to one sales code; select specific Sales Code from dropdown. Others leave it blank
Product
Name or code of the product from selected sales code.
WooCommerce and KashFlow product (code/name) must be exactly same in order to get it right.
When its same, some users map it with WooCommerce’s Line Items SKU or Name
Others leave it blank,
Description
Line item description
Some users map it with WooCommerce’s Line Items Name and SKU
Quantity
The number of products that sold in this line item
Most users map it withWooCommerce’s Line Items Quantity
Rate
Per unit price of the Product
Most users map it with WooCommerce’s Line Items Price
Inclusive Of Tax?
KashFlow expects to have Rate/price of single item without VAT Amount.
Some Accounts get the Rate which is inclusive of Tax
When true, system will find out item Price/Rate by deducting VAT Amount
Most users set this to false
VAT Rate
Percentage of VAT to be applied on this Line Item
Users select fixed VAT percent from drop-down when it is same for all lines items/orders
Some users leave it blank
VAT Amount
VAT Amount to be applied on this Line Item.
Do not provide/map if you want system to calculate based on VAT Rate.
Most users map it with WooCommerce’s Line Item Total Tax
Additional Charges
This section will allow to setup Invoice level additional charge like shipping charge, postal charge if any.
Note that KashFlow does not support line item level additional charges so you will need to map it total additional charges for all line items.
Sales Code
The name of the Sales Code that you would like to assign to additional charges.
Users for whom this additional charge belong to one sales code; select specific Sales Code from dropdown. Others leave it blank.
Charge
Invoice level additional charge like shipping charge, postal charge if any
Most users map it with WooCommerce’s Shipping Lines Total
Description
Most users set fixed string like ‘Shipping charges:’
Some users map it with Woo Commerce’s Shipping Lines Method Title
VAT Rate
Percentage of VAT to be applied on additional charge
Users select fixed VAT percent from drop-down when it is same for all lines items/orders
Some users leave it blank
VAT Amount
VAT Amount to be applied on additional charge.
Do not provide/map if you want system to calculate based on VAT Rate.
Most users map it with WooCommerce’s Shipping Tax
Discount
This section will allow to setup Invoice level discount if any.
Note that KashFlow does not support line item level discount so you will need to map it total discount of all line items
Sales Code
The name of the Sales Code that you would like to assign to discount
Users for whom this discount belong to one sales code; select specific Sales Code from dropdown. Others leave it blank
Discount
Invoice level total discount if any to be given for current customer
Most user map it to Woo Commerce’s Discount Total
Description
Most users use fixed string e,g. ‘Total discount’
Invoice Comments
Set this section if you would like to have invoice comments
Most users leave it blank
Some users map it with Woo Commerce’s Customer Note
Payment Lines
If you would like to add payment when invoice is created, user this section
Bank Account ID
Default Bank Account against which a payment for this invoice has to be recorded
Most users select specific bank from dropdown
Date
Date on which this payment is recorded
Most users map it with map it with WooCommerce’s Date Created.
Some users map it with WooCommerce’s Date Paid/Modified.
Invoice Payment Method
Most users select specific payment method from dropdown
Amount
The amount Paid
Most users map it with WooCommerce’s Total
Notes
Users set this field when they do not want to see notes in line item section
Most users leave it blank
Some users map it with Woo Commerce’s Customer Note
Once you are done with mapping, go may want to test this zap. Go to the end and click ‘Test and Continue’
Go to KashFlow and verify that new invoice got created. If you wish to change any mapping do that now.
Once you are sure, turn the zap ON.
Notes
Mapping for mandatory fields is required
Above mapping is for reference and will work most of the times. However, you may choose to do the mapping based on where do you want to see the data from WooCommerce in KashFlow.
If you do not want to flow certain fields from WooCommerce to KashFlow, you can leave them default/blank.