Now that your client is all set up, the last thing you’ve got to do is manage them and run their reports when required. IRIS KashFlow Connect makes this quick and simple. To start, go to IRIS KashFlow Connect> Clients > Choose your client> Reports.
Reports
Use the Reports button to run a range of reports for this client. From within IRIS KashFlow Connect, you can run the following reports;
- Aged Creditors
- Aged Debtors
- Balance Sheet
- Nominal Ledger
- Profit & Loss
- Sage Export
- Digita Exports
- Trial Balance
You can also log into the clients account using the KashFlow Logo button. From within the clients KashFlow account, you can go to Reports to view a range of tools & reports such as product-based reports, Audit Trail, and CIS reporting.
Management
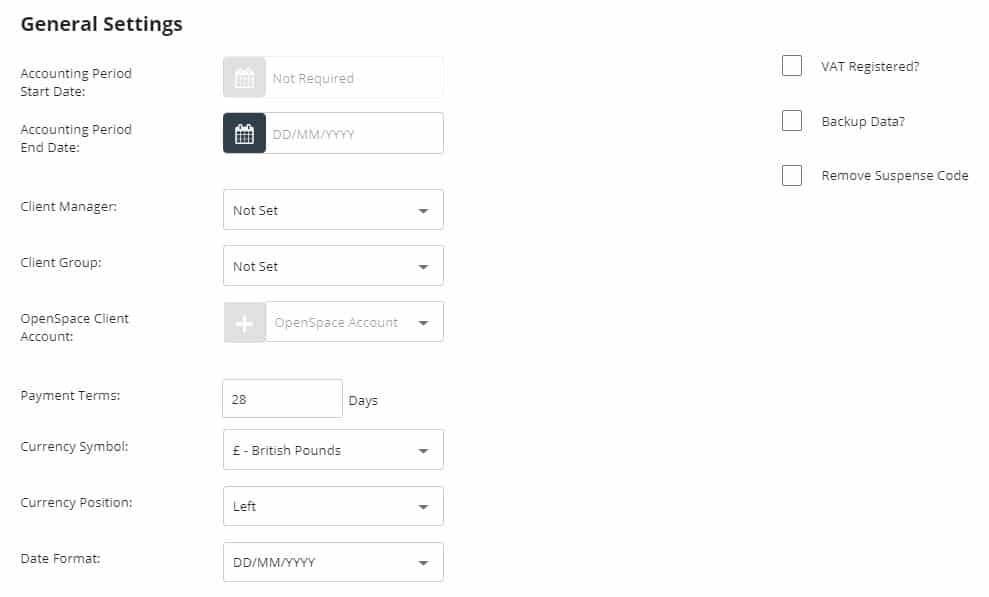
Managing your clients via IRIS KashFlow Connect be done using the Client Setting Access Clients > Choose your Client> Client Access Settings (key icon). From this page, you can view and restrict any access to your client. You may want to lock transactions to prevent the client from changing already filed information or you may want to initiate a back up of the data in your clients account. You will find these under the Client Access Settings button and the General Settings tab found on your Clients profile.
Contacts
By default, we include the client’s contact details that were used when you set up the clients KashFlow account or when they signed up for KashFlow. You can add additional contacts using the Add New Contact button.
Transaction Locking
Transaction locking prevents your client from modifying any transactions before a certain date. This applies to payments, invoices, purchases, transactions and journals. This setting is very useful to prevent a client from accidentally deleting a transaction or from modifying anything after a year end has been run. Access this setting by going to IRIS KashFlow Connect> Clients > Choose your client > Client Access Settings (key icon) > Lock Bank Transactions.
- Lock Transactions – Tick this to enable this setting
- Lock Date – Choose the date to prevent clients from modifying any transactions on or before.
- Allow Client Override – Ticking this will allow the client to disable transaction locking in their KashFlow account by going to KashFlow > Settings > Untick Transaction Locking. Prevent this by unticking the box.
When ready, click Update.
Automatic Backups
You can configure Iris KashFlow Connect to send an automatic monthly backup of the clients entire accounts to an e-mail address of your choosing. Access this setting by going to IRIS KashFlow Connect > Choose your client > General Settings tab > Back Up Data tick box.
Use the drop down here to decide what day of the month to send the backup on and enter in the e-mail address that you would like the backup to be sent. When ready, click Update.
Nominal Codes
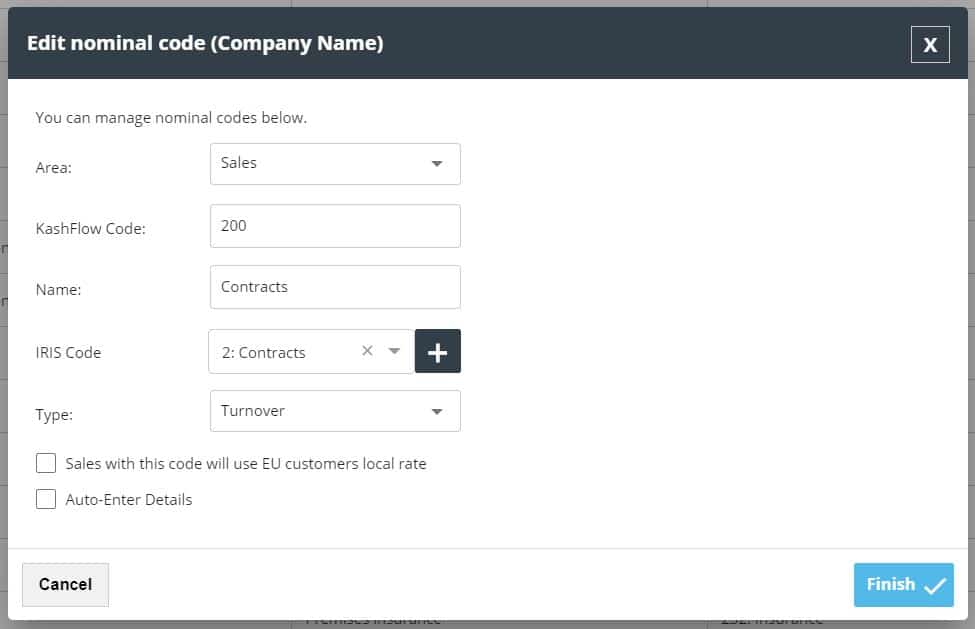
Use the nominal codes option to modify the customers chart of accounts if required. Do this by going to Iris KashFlow Connect > Choose your client > Nominals. To edit any account simply click the Pencil icon next to the nominal code, you can then change the nominal code number and it’s classification. Similarly, if you need to add a new nominal code just scroll to the bottom and click Add New.
Set Access to Reports
By default, we enable the client to have access to all reports however you can decide to disable any of these. To do this, go to IRIS KashFlow Connect > Choose your client > Client Access Settings (key icon)> Reports tab. Using the tick boxes, decide which reports to give access to. Unticking a report will mean that the report will not show at all in the clients KashFlow. When you’re done, click Update.
Set Access to Settings
We enable access to all settings for your client by default, this includes the chart of accounts and others. You can change this by going to Iris KashFlow Connect> Choose your client > Client Access Settings (key icon) > Settings tab. Using the tick boxes, decide which settings to give your client access to. If unticked, the client will not see these settings at all in KashFlow > Settings. When you’re finished, click Update.


