If you wish to set up KashFlow to integrate with your GoCardless account, but you already have clients that have existing direct debit mandates set up then you can follow the instructions below which will guide you on how to set this up within KashFlow.
You will need to go to Customers> Select your Client> CIS and Other info and click on the button for “Add an Existing Direct Debit Mandate”.

You will then be prompted to enter the mandate ID (this can be found by logging into your GoCardless account and it will be the reference starting with “MD” or be numbers only). You will also need to enter the maximum amount of money that you wish to collect from the customer, and the time period this limit will be applied for.
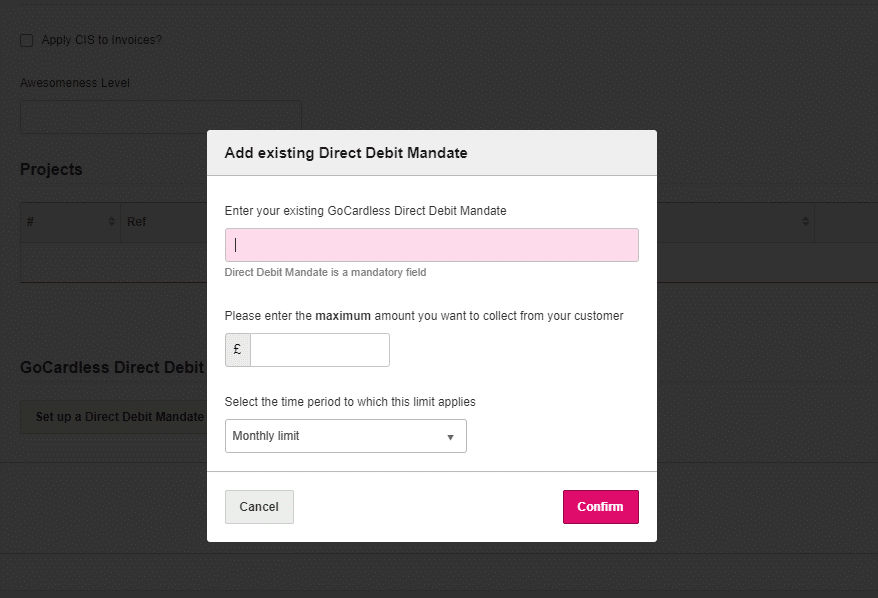
Once you have entered these details, click on the “Confirm button”. The software will then confirm whether the Direct Debit mandate is valid as per how it is set within your GoCardless account.
Please note, if you are trying to use an ID starting with “CU” this will not work as this is a different ID code used within your GoCardless account.
If the mandate ID is accepted, you will see a message pop on screen to say that the Direct Debit Mandate was successfully added.
If you need to remove the mandate for any reason, you can do this by going to Customers> Select your Client> CIS and Other info and click on “Delete” alongside the Direct Debit set up.