This guide will talk you through how to Add a New Supplier in KashFlow.
To add a new supplier, first click Suppliers from the main menu bar then simply click the button at the top labelled +Create.

On the next screen, fill in the supplier’s name. A supplier code will be automatically created for you but can be changed if you prefer. You then have the option to ‘Record a new purchase once full details are entered’ ticking this, then Create Supplier will then take you to the page to enter a purchase into the system.

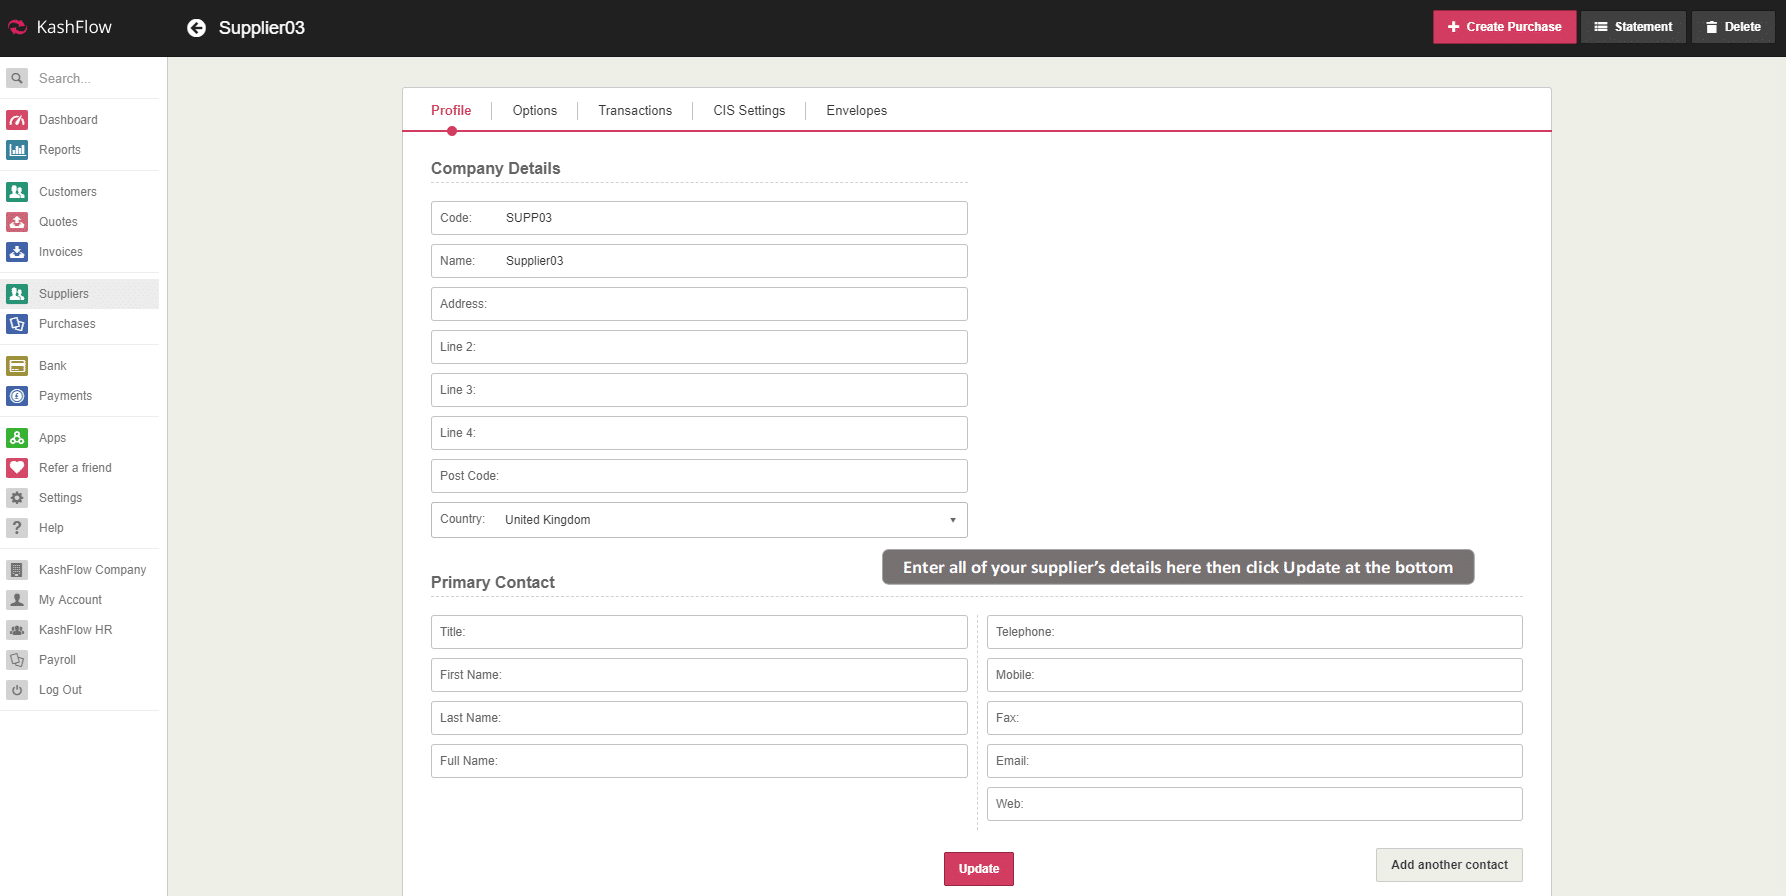
You will then be taken to page to fill out more of your suppliers details.
- Profile – This is where you input all your Suppliers details, such as email address telephone number and other various fields. You can also add additional supplier contacts.
- Options – In this tab you can enter your Suppliers VAT number, the default outgoing type, payment terms (how many days the Supplier’s invoices must be paid by), and bank details.
- Transactions – This tab will allow you to see the Purchase Receipts that have been created against this supplier. Statistics i.e Total Billed, Total Paid, Total Due. You also have the option to pull of a Statement of Account for this supplier and record any advanced payments or deposits made.
- CIS Settings – If enabled – you can apply CIS to receipts from this tab.
- Envelopes – In this tab you can print your Suppliers address to suit a C5 Envelope & D5 Envelope.
- Notes & Files – Here you can add internal notes for this Supplier, and also attach internal files to the Supplier. This can be used for anything from scans of business cards to any meetings recorded.
How to Access the suppliers
To get details on an existing supplier, go to Suppliers then simply select them from the list. This will take you to the supplier details screen.
